Installing & Configuring Lotus Notes includes 2 steps as follows:
- Step 1 - Installing Lotus Notes
- Step 2 - Configuring Lotus Notes
Step 1: Installing Lotus Notes
- Click on Download Lotus Notes to start downloading Lotus Notes client software.
- Run the self extracting file Notes7.exe. It will create a directory called C:\Lotus7.
(HINT: A Win Zip Self-Extractor window appears, please click on Unzip. When the files have been expanded click OK. Then click Close.) - Run setup.exe from the C:\Lotus7\Clients\W32Intel\ folder.
- Click Next.

- On the License Agreement screen, checkmark I accept the terms in the license agreement and click Next.

- Type your name and organization name and click Next> button

- Click Next> to accept the default destination folders.

- Click Next> to accept the default features

- Make sure that the box Make Notes my default email program is unchecked. Click Install to begin installation.

- The installation of Lotus Notes begins. After installation is complete, click Finish.

- Installation of Lotus Notes completes.
Step 2: Configuring Lotus Notes Client
- Launch Lotus Notes by selecting Start > Programs > Lotus Applications > Lotus Notes. You will have a screen that looks like the one below. Click Next> (Note: If you see a different screen, it may be because you have installed a previous version of Lotus Notes before or this is not the first time you attempt to install Lotus Notes 6 on your computer)
- Type in your name in the Your name box, and uncheck the I want to connect to a Domino server box. Click Next>.
- Make sure that none of the boxes are checked and click Next>.
- Click OK when the Notes setup is complete.
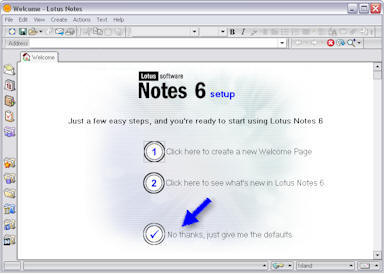
- Lotus Notes will open the Welcome page with Notes 6 setup options. Click on the No thanks, just give me the defaults option.
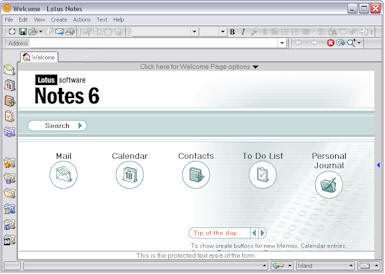
- Then you will have the Lotus Notes� default Welcome page on the screen.
No comments:
Post a Comment